GRAINPRINT BEGINNER GUIDE
A practical guide for beginners who want cleaner cuts, fewer mistakes, and more confidence before starting a furniture plan.

Starting a woodworking project is exciting. You have the plan, the tools are on the bench, and the first cut feels like the real beginning.
But the best woodworkers do not start with the saw.
They start by reading the wood.
Wood is not a neutral material. It has grain direction, growth rings, knots, moisture behavior, weak spots, color variation, and a natural way it wants to move. If you understand those signals before you cut, sand, glue, or finish, your project becomes easier to build and better to look at.
This is especially important when you are building from a furniture plan. A good plan tells you the dimensions, order of assembly, and tools you need. But the material in front of you still needs your attention. Two boards with the same size can behave very differently.
At Grainprint, the goal is simple: make premium furniture plans that feel clear, calm, and buildable. Like a good instruction manual, every step should reduce doubt. Learning to read wood does the same thing. It helps you make better decisions before mistakes become permanent.
Why beginners struggle with wood
Most beginner mistakes do not happen because someone is careless. They happen because wood looks simple from the outside.
A board seems flat. A cut line seems straight. A surface seems ready for oil. Then the problems appear: the board splinters when you cut it, the surface looks scratched after sanding, screws split the end of a piece, a panel cups after assembly, stain becomes blotchy, or two matching boards look different after finishing.
These are not random problems. They are usually signs that the wood was not read before the work began.
Reading wood means looking for clues. The grain tells you how to sand. The end grain tells you how the board may move. Knots tell you where the fibers change direction. Offcuts tell you how the finish will look.
Once you know what to look for, woodworking feels less like guessing.
1. Follow the grain direction

The first thing to check is the direction of the grain. Look at the long lines running through the board. Those lines show the direction of the wood fibers.
For most beginner projects, this one habit immediately improves the result: work with the grain, not against it.
When you sand with the grain, scratches are less visible. When you plane or chisel with the grain, the fibers cut more cleanly. When visible parts are arranged with the grain flowing in a logical direction, the finished piece looks more intentional.
For a project like a small lamp, shelf, tray, stand, or side table, grain direction also affects how premium the final result feels. If the grain runs randomly from part to part, the build may be technically correct but visually messy. If the grain is considered, the same simple parts can look designed.
Beginner rule: before cutting, mark the grain direction lightly with a pencil on the hidden side of each board.
2. Check the end grain before choosing your parts
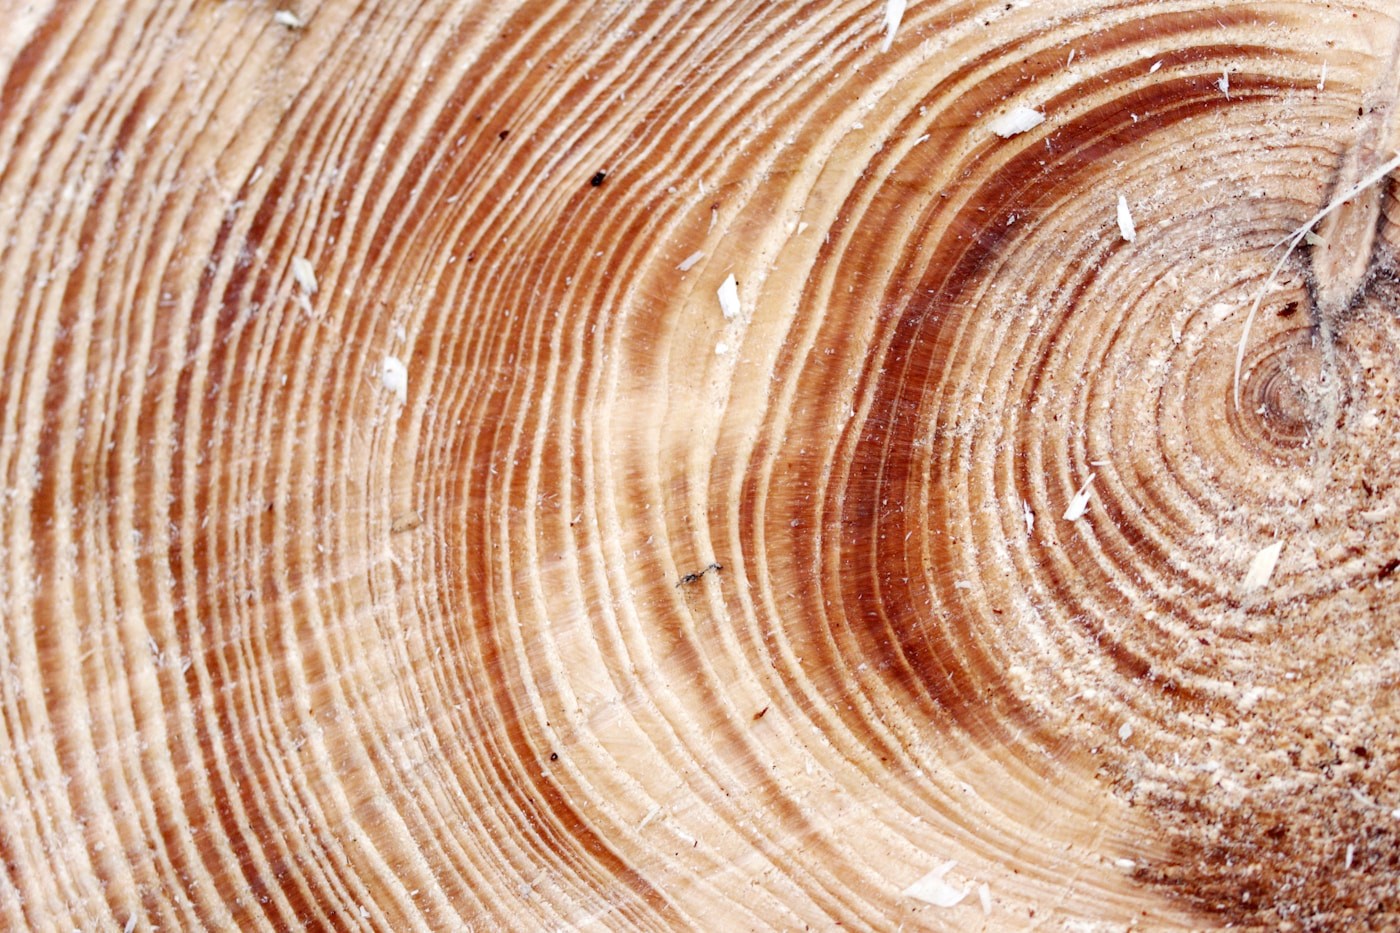
The end of a board tells you a lot. This is where you can see the growth rings: the lines that show how the tree grew before it became lumber.
Those rings matter because wood does not move equally in every direction. Wood movement is mostly connected to moisture. As the surrounding air changes, wood takes in or releases moisture. It expands and shrinks much more across the grain than along the length of the board.
This is why a wide board can cup, while a narrow strip stays more stable.
Look at the end grain: curved rings can indicate a board that may cup more noticeably, straighter rings often indicate a more stable piece, end grain absorbs finish more strongly than face grain, and screws near end grain need more care and usually a pilot hole.
You do not need to become a lumber scientist to build good furniture. But you do need to pause and look.
If a plan uses a wide top, panel, base, or shelf, choose that board carefully. If a plan uses small parts, legs, rails, or strips, avoid pieces where the grain runs out at a steep angle. The plan gives you the shape. The grain helps you choose the best part of the board for that shape.
3. Understand wood movement before assembly
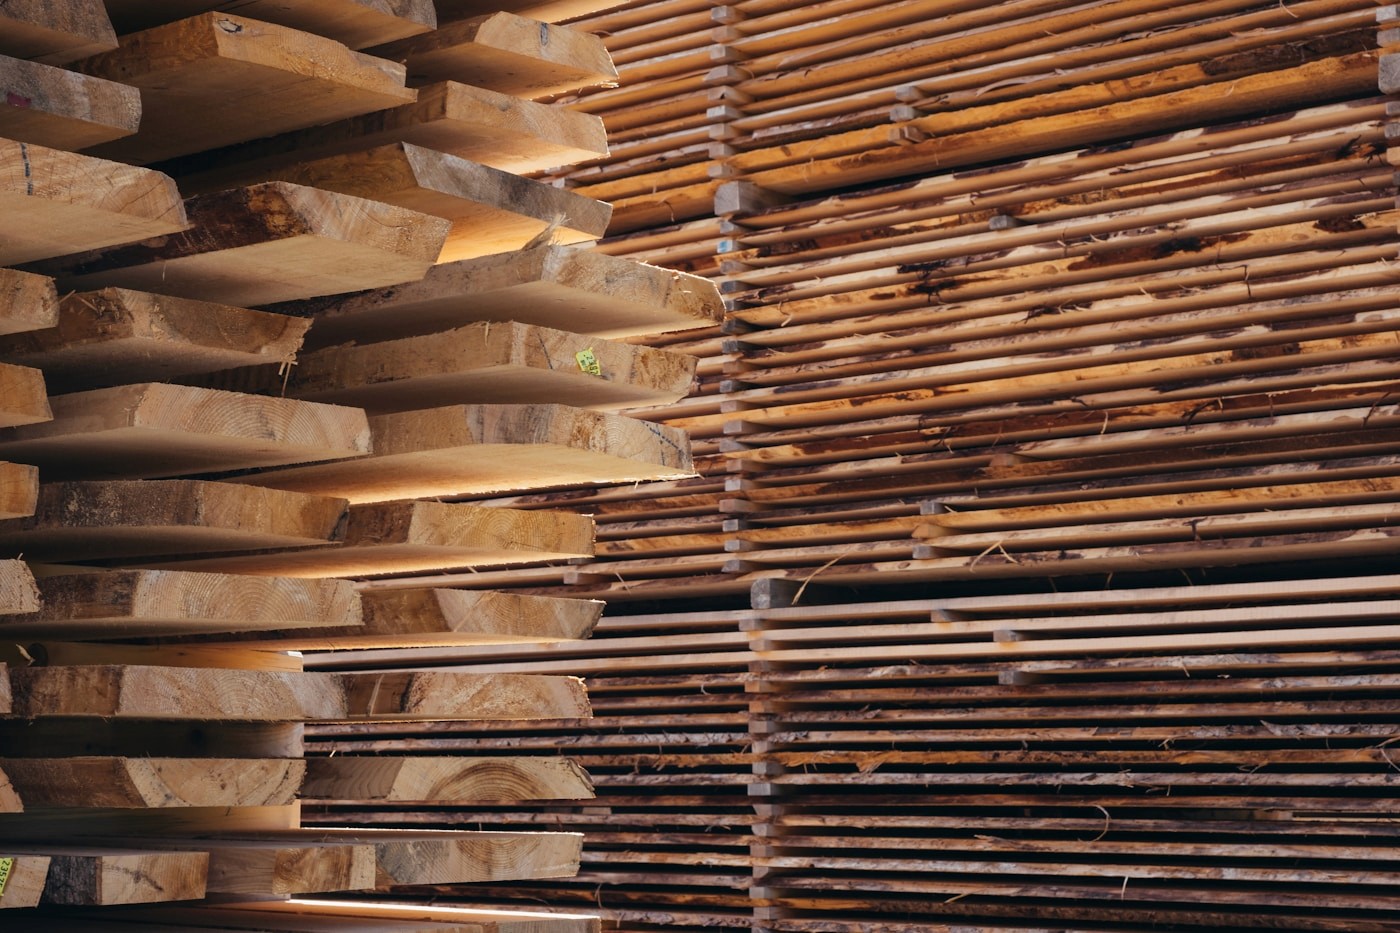
Wood movement is one of the biggest surprises for new DIY builders.
You can cut everything perfectly, assemble it neatly, and still see movement later. That does not mean the plan was wrong or the build failed. It means the material is alive in the practical sense: it reacts to the room.
Wood usually moves very little in length. It moves much more in width and thickness. That is why wide parts deserve extra attention.
For beginner furniture projects, remember this: give wide panels room to expand and shrink, let boards acclimate in the room before building, do not force a warped board flat with glue and hope for the best, avoid trapping a solid wood panel so tightly that it cannot move, and use plywood when the plan calls for stability and predictable dimensions.
This is one reason Grainprint plans often use clear dimensions, simple assemblies, and accessible materials. A good beginner plan should reduce unnecessary risk. But the builder still has to choose straight, stable wood and understand where movement matters.
If your board is already badly cupped on the bench, it will not magically become calm inside the finished project. Use it for smaller parts, choose a better board, or adjust your material choice before you start.
4. Treat knots and cracks as design decisions
Knots can look beautiful. They add character and make a project feel less manufactured. But they are also places where the grain changes direction.
Around a knot, the fibers twist. That can make the wood harder to sand evenly and easier to tear out when cutting or planing. A knot near the edge of a narrow part can also become a weak point.
This does not mean you should avoid all knots. It means you should place them intentionally.
Good places for knots: decorative surfaces, non-structural panels, and areas where natural character is part of the design.
Risky places for knots: thin legs, narrow rails, screw locations, joints, and parts that need clean edges.
If you are building from a plan, lay out all parts on the board before cutting. Move the templates or measurements around until the best-looking wood lands in the most visible places, and the weakest areas stay out of critical parts.
That small layout step can make a beginner project look much more professional.
5. Test the finish before touching the final piece
Finish changes everything.
Oil can make grain deeper and warmer. Stain can make one board look rich and another look blotchy. Clear coat can make sanding scratches appear that were almost invisible before.
That is why the test piece is not optional.
Use an offcut from the same board whenever possible. Sand it exactly like the project. Apply the same oil, stain, varnish, or wax. Let it dry. Then decide.
This matters because end grain, face grain, plywood edges, knots, and different species all absorb finish differently. If you skip the test, you are making the final decision on the final piece.
For a beginner, a finish test is one of the cheapest ways to avoid disappointment.
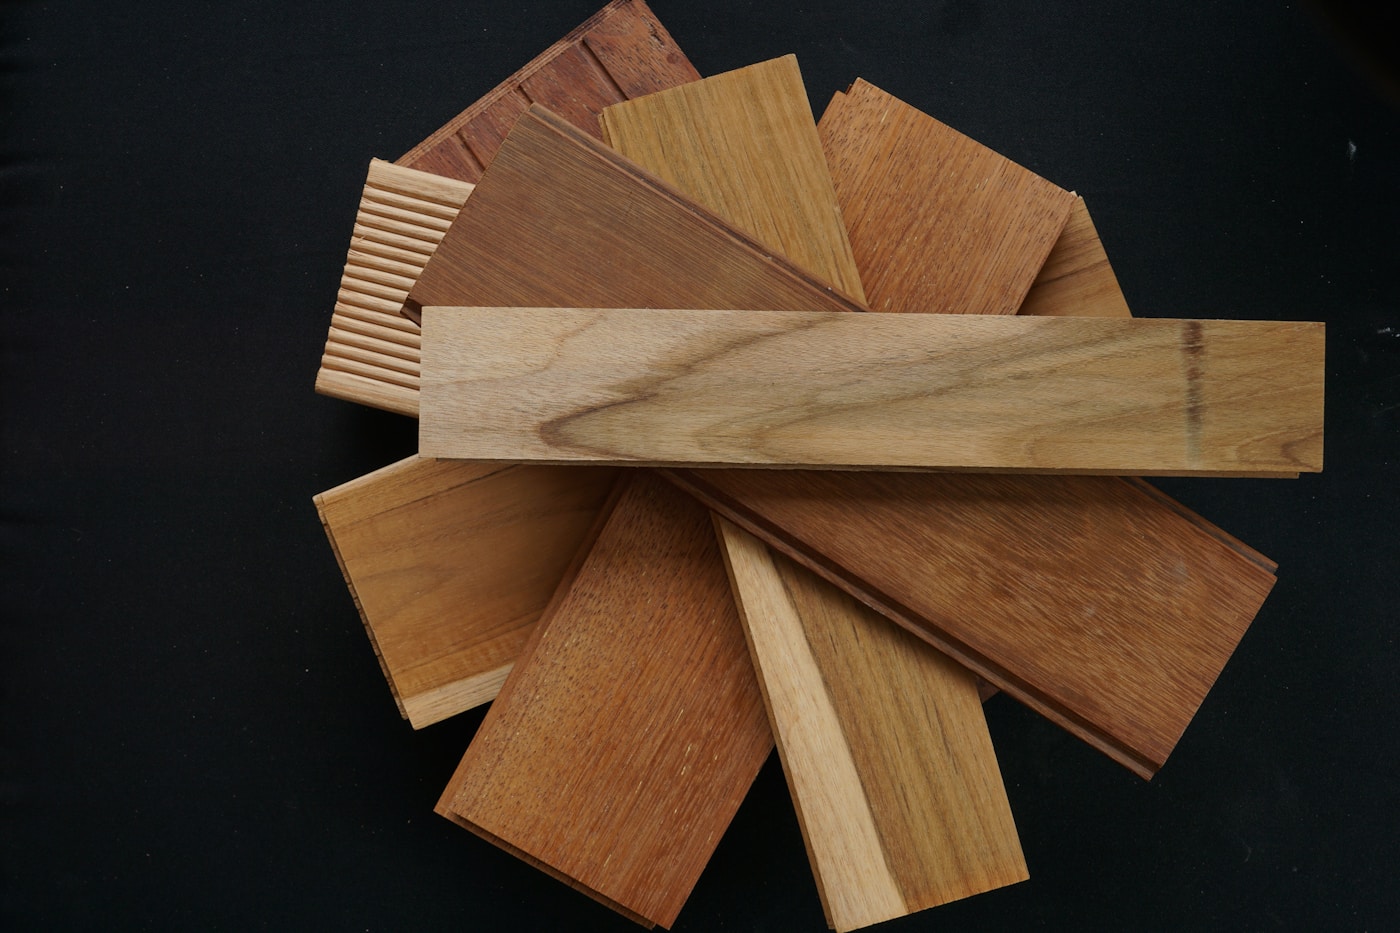
A simple pre-build checklist
1. Grain direction: Do the visible parts flow in a deliberate direction?
2. End grain: Are the growth rings telling you anything about movement?
3. Flatness: Is the board straight enough for the part you need?
4. Knots: Are they decorative, or are they landing in weak areas?
5. Moisture: Has the wood had time to acclimate to the room?
6. Offcuts: Do you have a test piece for finish?
7. Plan match: Does the material match what the plan expects?
How this helps when using Grainprint plans
A Grainprint plan is designed to remove the uncertainty around the build. You get the dimensions, views, material guidance, tool list, and step-by-step order. That lets you focus on making the piece instead of inventing the process.
But the best result comes when the plan and the material work together.
The plan gives you the correct dimensions, the construction sequence, the parts list, clear build steps, and a predictable path from raw material to finished furniture.
Reading the wood gives you better-looking visible surfaces, cleaner cuts, fewer sanding problems, fewer splits and cracks, smarter finish choices, and more confidence before assembly.
That combination is powerful for beginners. You do not need a full workshop or years of experience to build something you are proud of. You need a clear plan, basic tools, and the habit of looking carefully before you act.
Recommended first Grainprint-style project
If you are new to woodworking, start with a compact project that has simple geometry, visible grain, and a manageable number of parts.
A small lamp, stand, shelf, or desktop piece is ideal because it teaches the core skills without overwhelming you: measuring, cutting, drilling, sanding, reading grain, simple assembly, and finishing.
The project becomes more than an object. It becomes a controlled way to learn how wood behaves.
That is the philosophy behind a good beginner plan: not just make this thing, but understand why this thing works.
Final thought
Do not rush the first cut.
Turn the board over. Look at the grain. Check the end. Mark the best face. Decide where knots should go. Save an offcut for testing.
That quiet minute at the start can save hours later.
Good woodworking begins before the saw touches the wood. It begins when you learn to read what the material is already telling you.
Ready to build with more confidence? Choose a clear Grainprint furniture plan, prepare your material carefully, and let the wood guide the first step.
References
USDA Forest Products Laboratory. Wood Handbook: Wood as an Engineering Material. https://www.fs.usda.gov/research/treesearch/62200
Glass, S. V. and Zelinka, S. L. Moisture Relations and Physical Properties of Wood. In Wood Handbook: Wood as an Engineering Material.
Derome et al. The role of water in the behavior of wood. https://arxiv.org/abs/1509.05161
Hoadley, R. Bruce. Understanding Wood: A Craftsman’s Guide to Wood Technology.
Choose a Grainprint furniture plan when you want a project that feels structured, visual, and achievable with basic tools. Read the wood, follow the steps, and build with more confidence from the first cut.
View Grainprint plans